Last Updated on 15 July 2025 by Maelle
Has your Ikea wardrobe seen better days? Are the sliding doors no longer sliding as smoothly as they used to, or are the shelves sagging? Whether you have a standard PAX wardrobe or a more complex wardrobe combination, it’s entirely possible that you’ll run into problems after a few years of use. Don’t worry! There’s no need to throw out the entire wardrobe and spend a fortune buying a new one. With a little know-how, a few tools, and a little patience, you can repair your Ikea wardrobe at home. Not only can it save you money, but it can also give you a lot of satisfaction. So, how do you repair an Ikea wardrobe? Follow the guide below to find out how to breathe new life into your beloved wardrobe. After this introduction, let’s move on to problem identification… Identifying the Problems When you notice defects in your IKEA wardrobe, the first step is to determine the cause of the problem. Examine the Wardrobe The wood may be damaged or the doors may be misaligned. Problems can also occur with particleboard and sliding doors. Consider Variants Pax wardrobes may have specific problems. For example, the storage options in a Pax wardrobe may not function properly. Plan the Repair Once you have identified the problem, the next step is to plan the repair of your IKEA wardrobe.
Consider Repair Options Different repair options are available, depending on the type of wardrobe and the specific problem. For example, if the sliding doors aren’t working properly, you may need to replace them. Choosing the Right Combination If you decide to repair the entire wardrobe, you’ll need to choose the right combination. replacement parts. This may include new particleboard, doors, or storage options. Carry out the repair Once you’ve planned the repair, it’s time to take action. Prepare the wardrobe At first, you may need to disassemble the wardrobe to access the damaged parts. Be careful not to damage other parts of the IKEA wardrobe.Replace the parts After preparing the wardrobe, you can begin replacing the defective parts. This may include installing new sliding doors or replacing the particleboard. Repair an IKEA wardrobe
Repair an IKEA wardrobe
Finalize the repair
After replacing the defective parts, it’s time to finalize the repair of your IKEA wardrobe. Check the Wardrobe Once all repairs have been completed, check that the wardrobe is working properly. The doors should open and close easily, and the storage options should be functional.Finish the Job Once you’re satisfied with the repair, it’s time to finalize the work. This may involve cleaning the work area and organizing your tools. Revitalize the Closet


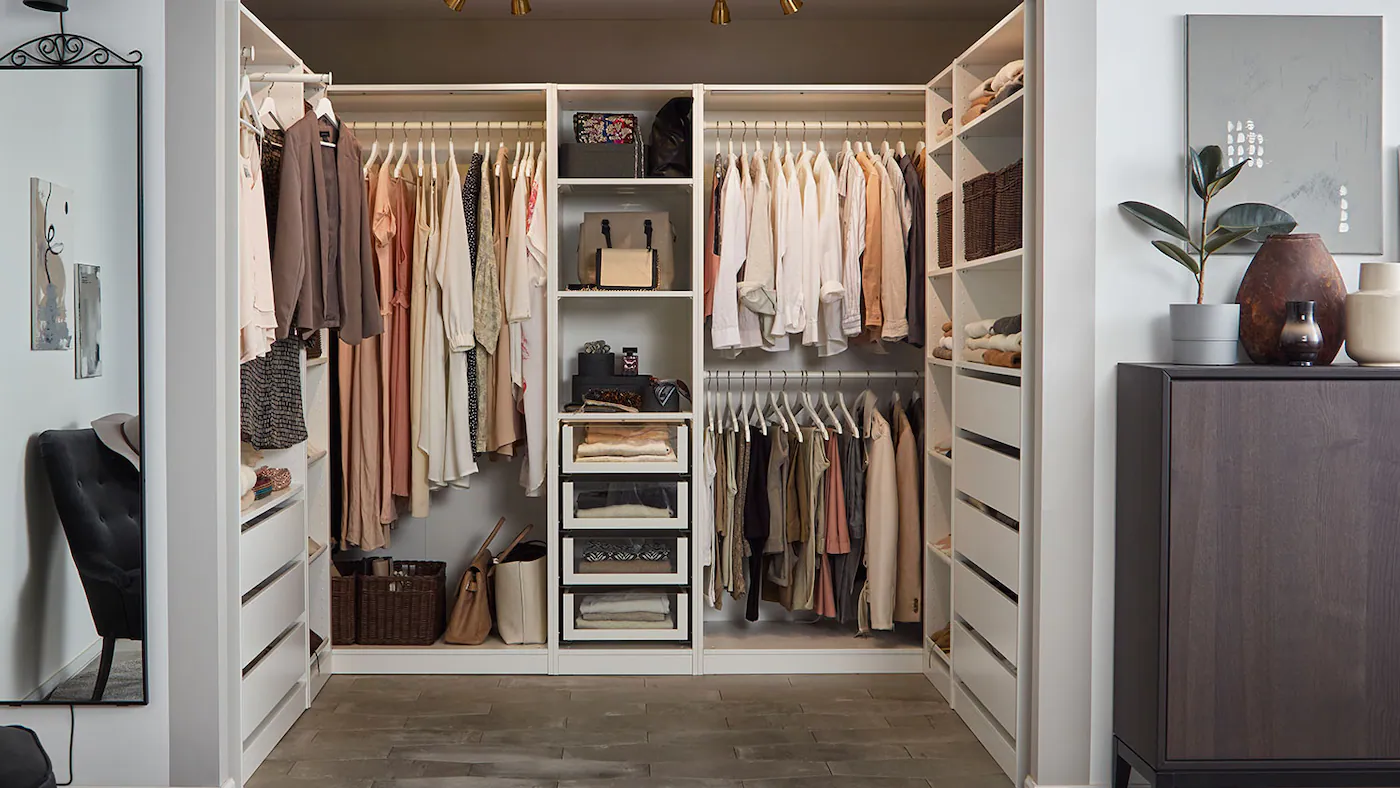
After completing all the necessary repairs, it may be beneficial to give your closet a little makeover.
Clean the Wardrobe Clean your wardrobe thoroughly with a damp cloth. Make sure to remove any dust or debris that has accumulated. You can use a mild cleaner on the doors and particleboard to give your IKEA closet a new shine. Organize Storage Once your wardrobe is clean and repaired, take the opportunity to reorganize your storage options. You can use boxes, baskets, or other organizational tools to help keep your clothes and accessories in order. With these additional steps, not only will your closet be repaired, but it will also look fresher and more organized. A well-maintained and organized closet can really make a difference in your bedroom. Repairing an IKEA walk-in closet can be a challenge, but with a little patience and hard work, you can make your closet look as good as new.

